How to fix qbwc1039 error?
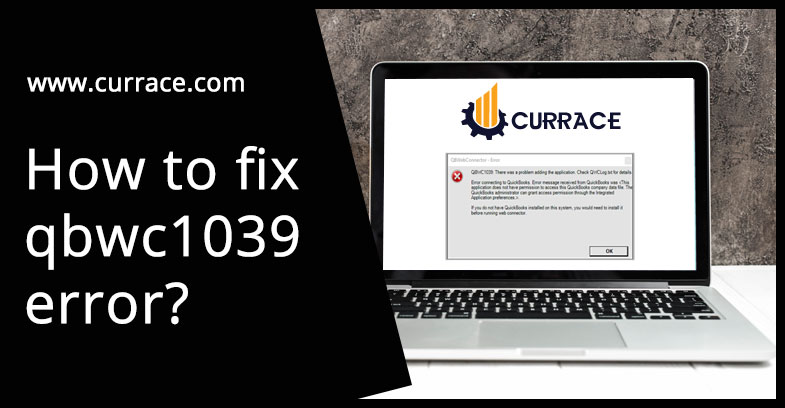
QBWC1039 error is a common error that occurs when you are trying to connect with a third party application with quickbooks desktop using a web connector. When you try to reconnect your company’s document with some outsider application or to a warehouse manager using quickbooks web connector then you may get a qbwc1039 error.
Causes of qbwc1039 error
- Moving of companies files from one to another location
- Accessing permission of companies files is not granted fully to the application
- Web connector is not properly connected or installed
- Renaming of the file and changed in the path
- Damaged and corrupted files of quickbooks
- Installations issues in quickbooks
- Compatibility issue
- Pair value of file id/owner id is required
QBWC1039 error Best posiable solution
Follow these steps resolve your qbwc1039 error :
Solution 1: backup of company files
- Firstly open quickbooks
- Then go to the File menu and from there change the mode into single-user mode.
- Then again click on the file menu and then choose the backup company option.
- Now the backup window will appear. From this window, you have to choose to create a local backup option and then select local backup.
- Now click on the options button, then a new backup window will appear from that window you have to choose a browser.
- Then choose the local hard drive location of your computer for backup of company files.
- After that click on the ok button and save it.
Solution 2: company files are moved and renamed company files
- Firstly you have to rename the companies files
- If the files are moved to another location
- Then create the backup of the companies files
- Now restore it to the previous location
- After that establish a connection and open the file in the application.
Solution3: permission of companies files is not granted fully to the application
- Firstly login into the quickbooks application as an admin
- Now go to the File menu and choose the display options and from there change the mode to single-user mode
- Now click on the edit menu and choose Preferences and then the preferences window will appear from that window click on the integrated applications.
- Then click on the company preferences and then uncheck the checkbox which shows don’t allow my application access to this company file.
- Now the pop-up window will prompt named SDK app authorization and click on the yes button.
- Now access is granted and click on the ok button.
Solution4: restore the company files into the previous location
- Firstly open quickbooks
- Then click on the File menu
- Then, click on the Open or Restore the company and choose to Restore a backup copy.
- After that, you have to click on the Next option and then choose the Local Backup tab.
- Then Click on the Next and Browser backup company file.
- Now, you need to select a folder to save your restored file.
- Save with a unique name and don’t overwrite the new company name with any existing company name.
- Now Open and Save your restored company file.
Solution 5: pair value of files id/owner id required
- Firstly Open quickbooks software
- Then download the CP3 tool
- Now open the tool and then go to the file option
- After that search QWC files and open that file.
- Again open the file and click on the remove stamp option
- Now quickbooks application certification pop-up window will appear and click on the ok button.
- Choose the confirm button on the access confirmation window.
- Now you have to follow the instructions
- Now click on the ok button and you will get a confirmation message “Owner ID has been removed”.
- Again click on the ok button
- Now you close the CP3 tool and add a third-party app
Solution 6: configure web connector
- Firstly you have to login into quickbooks as an admin
- Open quickbooks and then click on the File menu
- Then from the File menu choose the display and change the mode into single-user mode.
- Then go to the edit menu and choose the preferences
- Now click on the integrated applications and then choose company preferences.
- After that click on the third-party app and then select the properties
- Then select allow this app to log in automatically
- In authorization, window click on the yes button
- 9. At last click on the yes button of user option