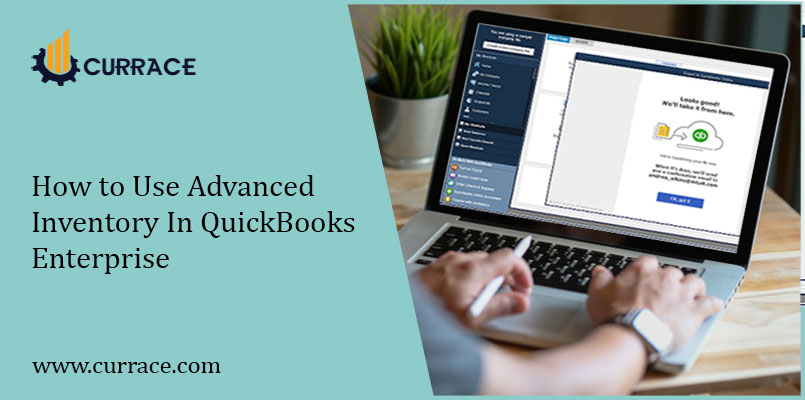
How to Use Advanced Inventory In quickbooks Enterprise
quickbooks Software is used for small and large-sized businesses. So, there is a function of Stored quickbooks Advanced Inventory. Where you can store all the data and track the inventory location. There is a number of inventories that you can handle at a time. That process is a time-consuming process.
Here, We have an option to track your inventory easily and quickly. When you turn on advanced inventory in quickbooks. You can keep the stock closed in different destinations or areas.
You can store stocks in many distribution centers. In many areas like-commodity areas or outside manufacturers. To ensure that your inventory is close to the site. You need to effectively establish an advanced inventory.
Table of Contents
Advanced Inventory in quickbooks- Step by Step Solution
After turn on the advanced Inventory. You can track any stored inventory that is on different sites or locations. There are some steps to set up the Advanced Inventory-
Fulfilled Requirements by Advanced Inventory-
- Enhanced Feature of Pick Pack and shipping the Inventory.
- Easily find and adjust the import or export inventory count cycle.
- Customizable Reports.
- Save your time and effort by automated receiving.
- The barcode scanning option makes inventory management fast and reliable.
- Easily track product location and storage.
How you can turn on the Advanced Inventory Option-
If you are using quickbooks Enterprise. You can buy advanced inventory. This enables you to use FIFO costing, Multiple location Inventory. Furthermore, Scanning of Barcode, Serial Numbers, and sales orders fulfill the process.
Follow These Steps to Turn On the Advanced Inventory-
- Select preferences from the Edit menu.
- On the left sheet, Pick Items and Inventory > Company Preferences.
- Check the Active box of Inventory and Purchase Orders.
- Select the Advanced Inventory Settings button. On the off chance that the button is turned gray out despite the fact that you have obtained the element. You should synchronize the permit information on the web. So that quickbooks remembers it.
- In quickbooks, pick Help > Manage my License > Sync License Data Online.
- Watch that Advanced Inventory Settings is never again turned gray out.
- Close and re-open the quickbooks program.
Step 1: Set Up your Inventory Sites
In the First Step, you can track the multiple inventory sites where you can track the inventory. These sites are the actual hub of different addresses, staging areas, or any small or large locations.
For Follow step 1, you have to do:
- Select the Inventory Site list from the list menu.
- Select the Site button, then new.
- Enter the all necessary information.
- Repeat steps 1 to 3 until your site is not added.
Step 2: Convert the previous method of tracking inventory site
Note down the Quantity of hand (QOH) at each site.
That step is optional for you if your current method uses an item list. You have to clean up your item list firstly.
You should have at least an assembly part item set up in quickbooks Desktop to match each inventory part. This Inventory part should accurately reflect the global QOH for that Item.
Step 3: Set the Reorder Inventory for each site
To Set up the Inventory you must follow these points-
- Select the Inventory Site list from the list menu.
- Set the Reorder Points from the Activities.
- Click to Set the reorder point for the site and select. That site in which you want to set the reorder point.
- Enter the reorder point of each item.
- Repeat the whole process until the points are set for all sites.
- Select Ok to finish this step.
Step 4: Transfer the Opening Quantities of Each Site Item-
Follow to enter the new transfer for each site
- Select the Transfer Inventory option from the Inventory menu.
- Enter the date of the transfer that can be the date you start tracking multiple sites.
- For Reference no. field, enter the all transfer number.
- Select the Temporary inventory site from the transfer form.
- After that Select the Actual Inventory site.
- Select all Inventory Items to transfer the site.
- Choose Print Option if you need a printed copy of the transfer.
- Select Save and new.
- Repeat all steps for every Inventory site.
- When you have done the whole process, Select Save & Close.
Step 5: Add a site column to remember transaction that includes Inventory
This final step is only necessary to remember the transaction, which includes every inventory part item.
Why the Inventory Control is Important
Effective Inventory control is the heart of supply chain management. There is some advantage of proper guidance and training. To manage the inventories effectively in terms of stock levels, and customer service delivery. It makes your business good and sensable because It improves the productivity and efficiency of the organization’s employees.
Today, we all are aware that how technology changes and updates very frequently. Day by day the new technology and features you can see. If you are implementing new inventory control software with your organization that would be very helpful. It will optimize your all-over business performance.